Quick Start for Instructors
VivaEdu is a different kind of edtech tool. It is built for the reality of AI, but it is still simple to learn and genuinely fast to use. In short, students explain their work in short recorded responses, and you restore confidence in your assessment again.
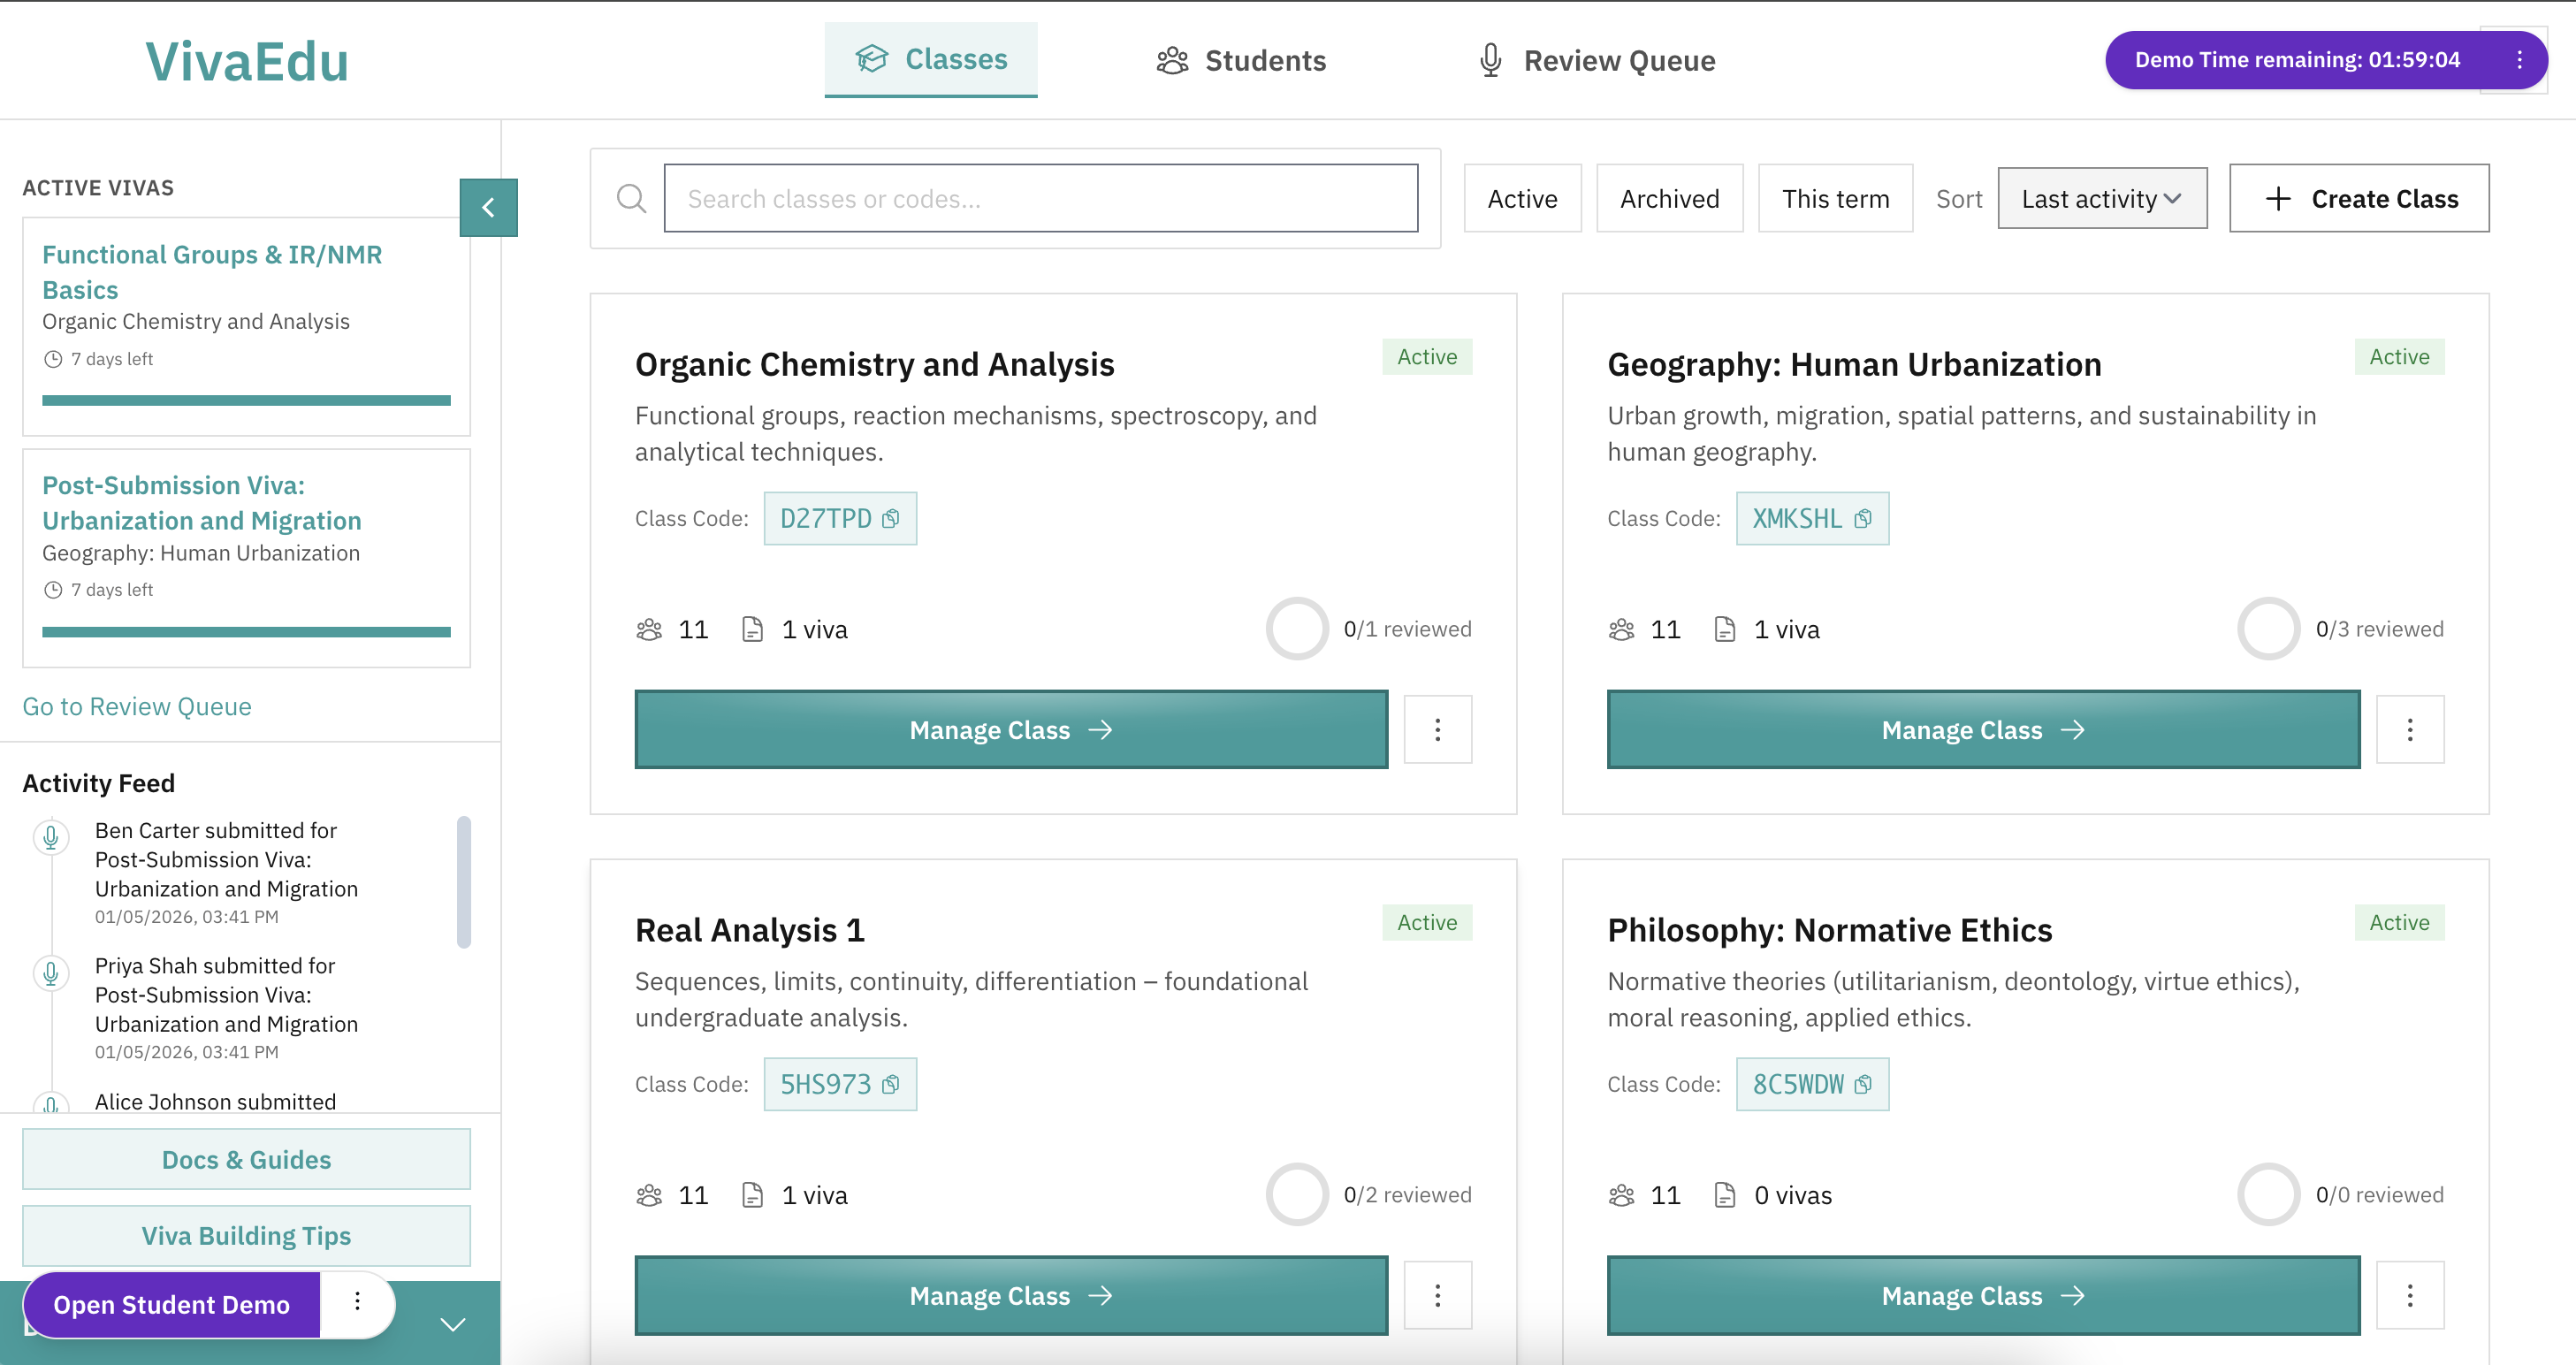
Step 1: Access VivaEdu
You can access VivaEdu in two ways:
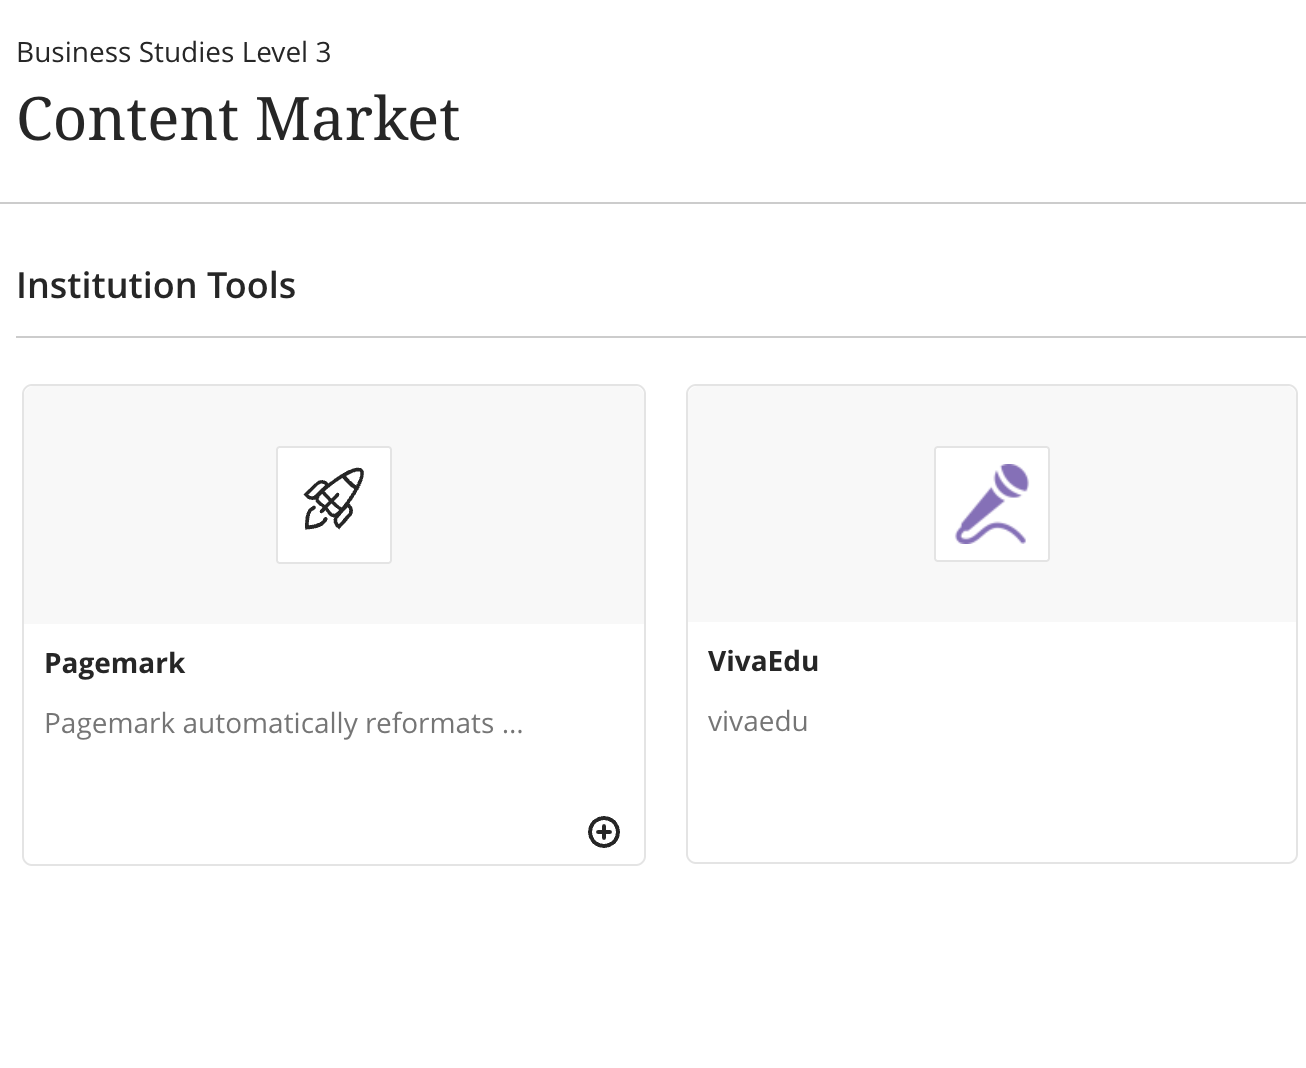
- Via LMS: Launch VivaEdu from your Blackboard, Moodle, or Canvas course. Add it as an LTI 1.3 external tool link, and you can configure it with the steps below right there in the iframe. This should really be the main way you access it.
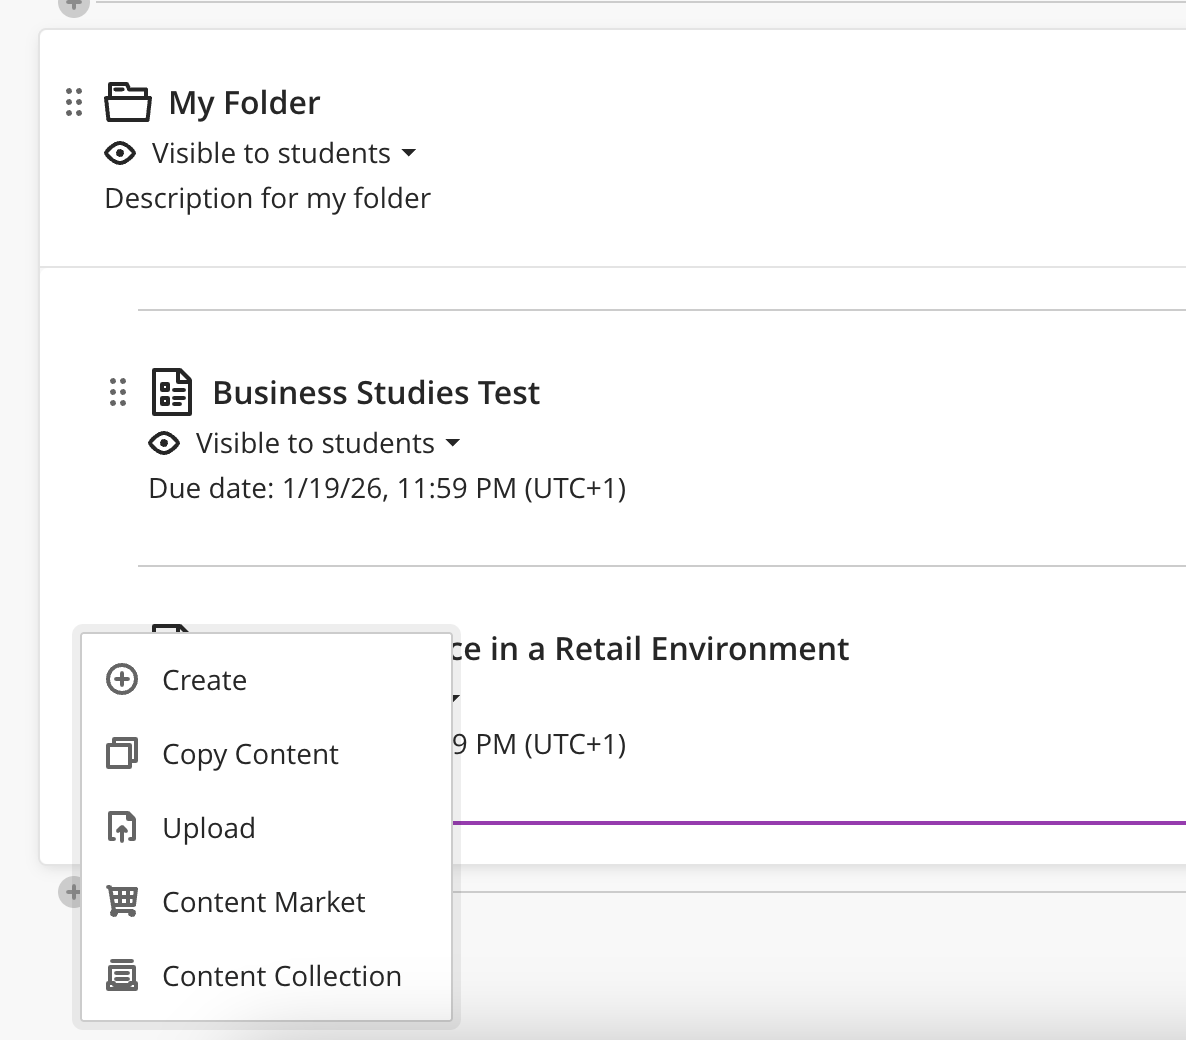

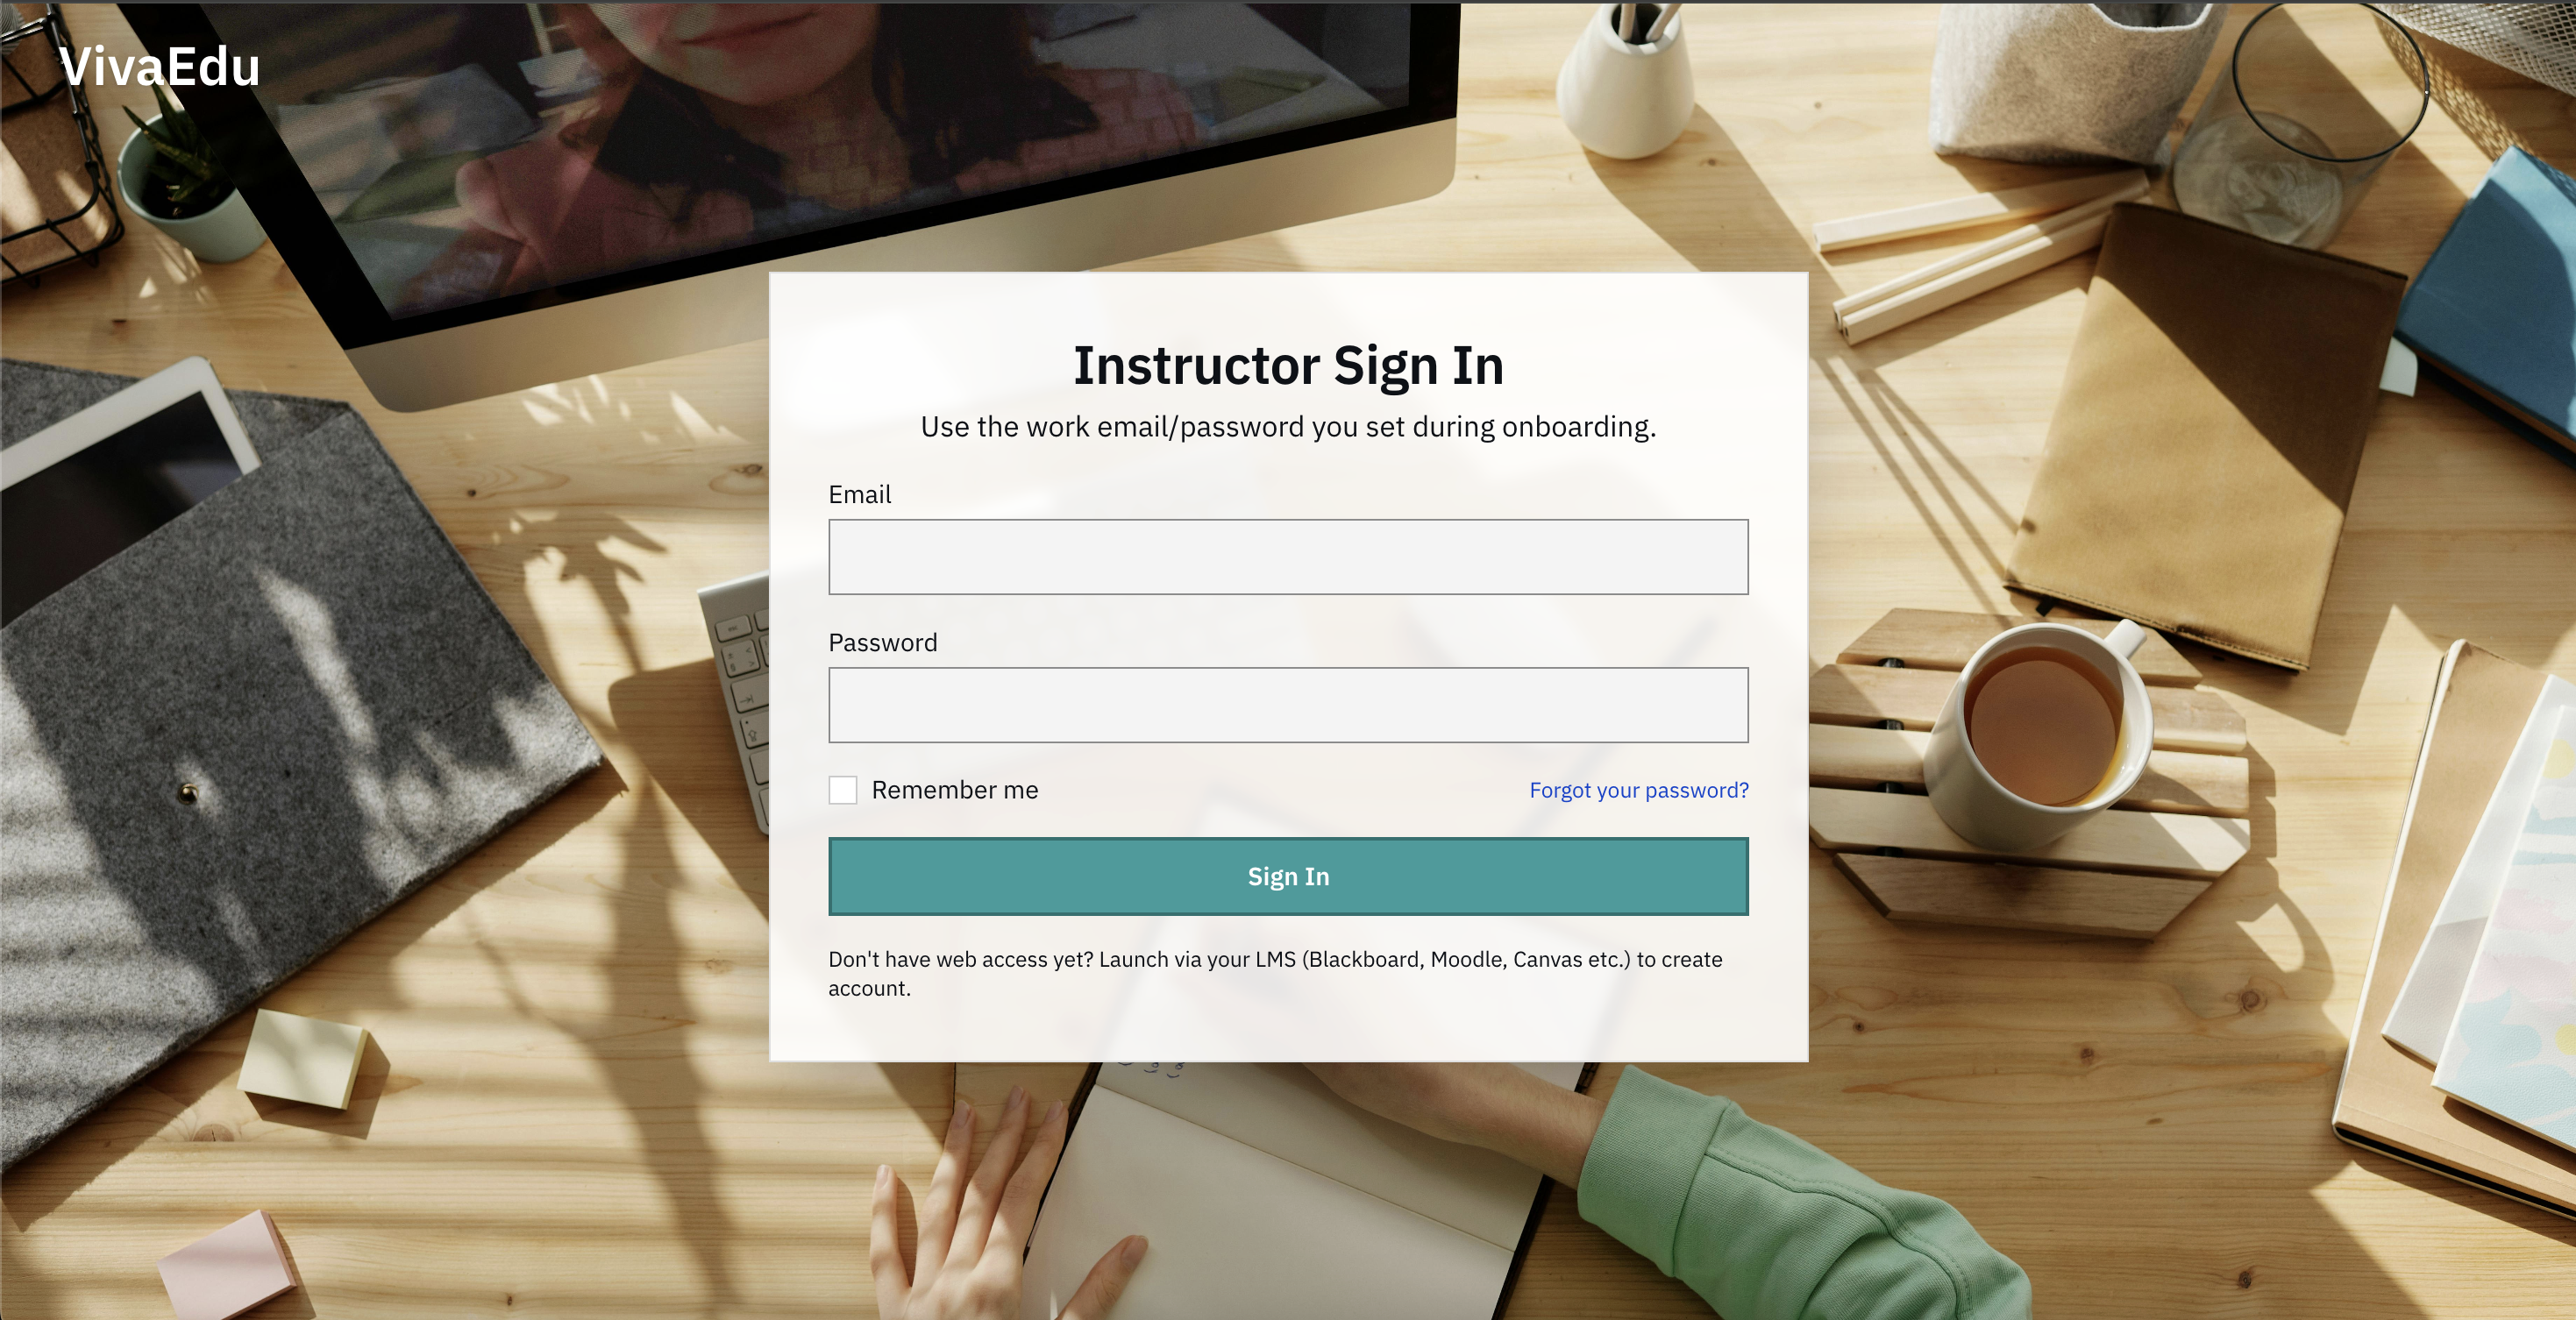
- Direct Web Access (this may very well be removed shortly): The second method of access is at the landing page itself. This sign-in process requires you to set it up prior in LMS. Essentially, accounts can only be created in your LMS (which is done automatically upon first link click), not the web, but you can sign in with an existing account through the landing page. Students cannot log in via web.
First time? Try the Private Demo from the landing page to explore all features in a risk-free sandbox environment.
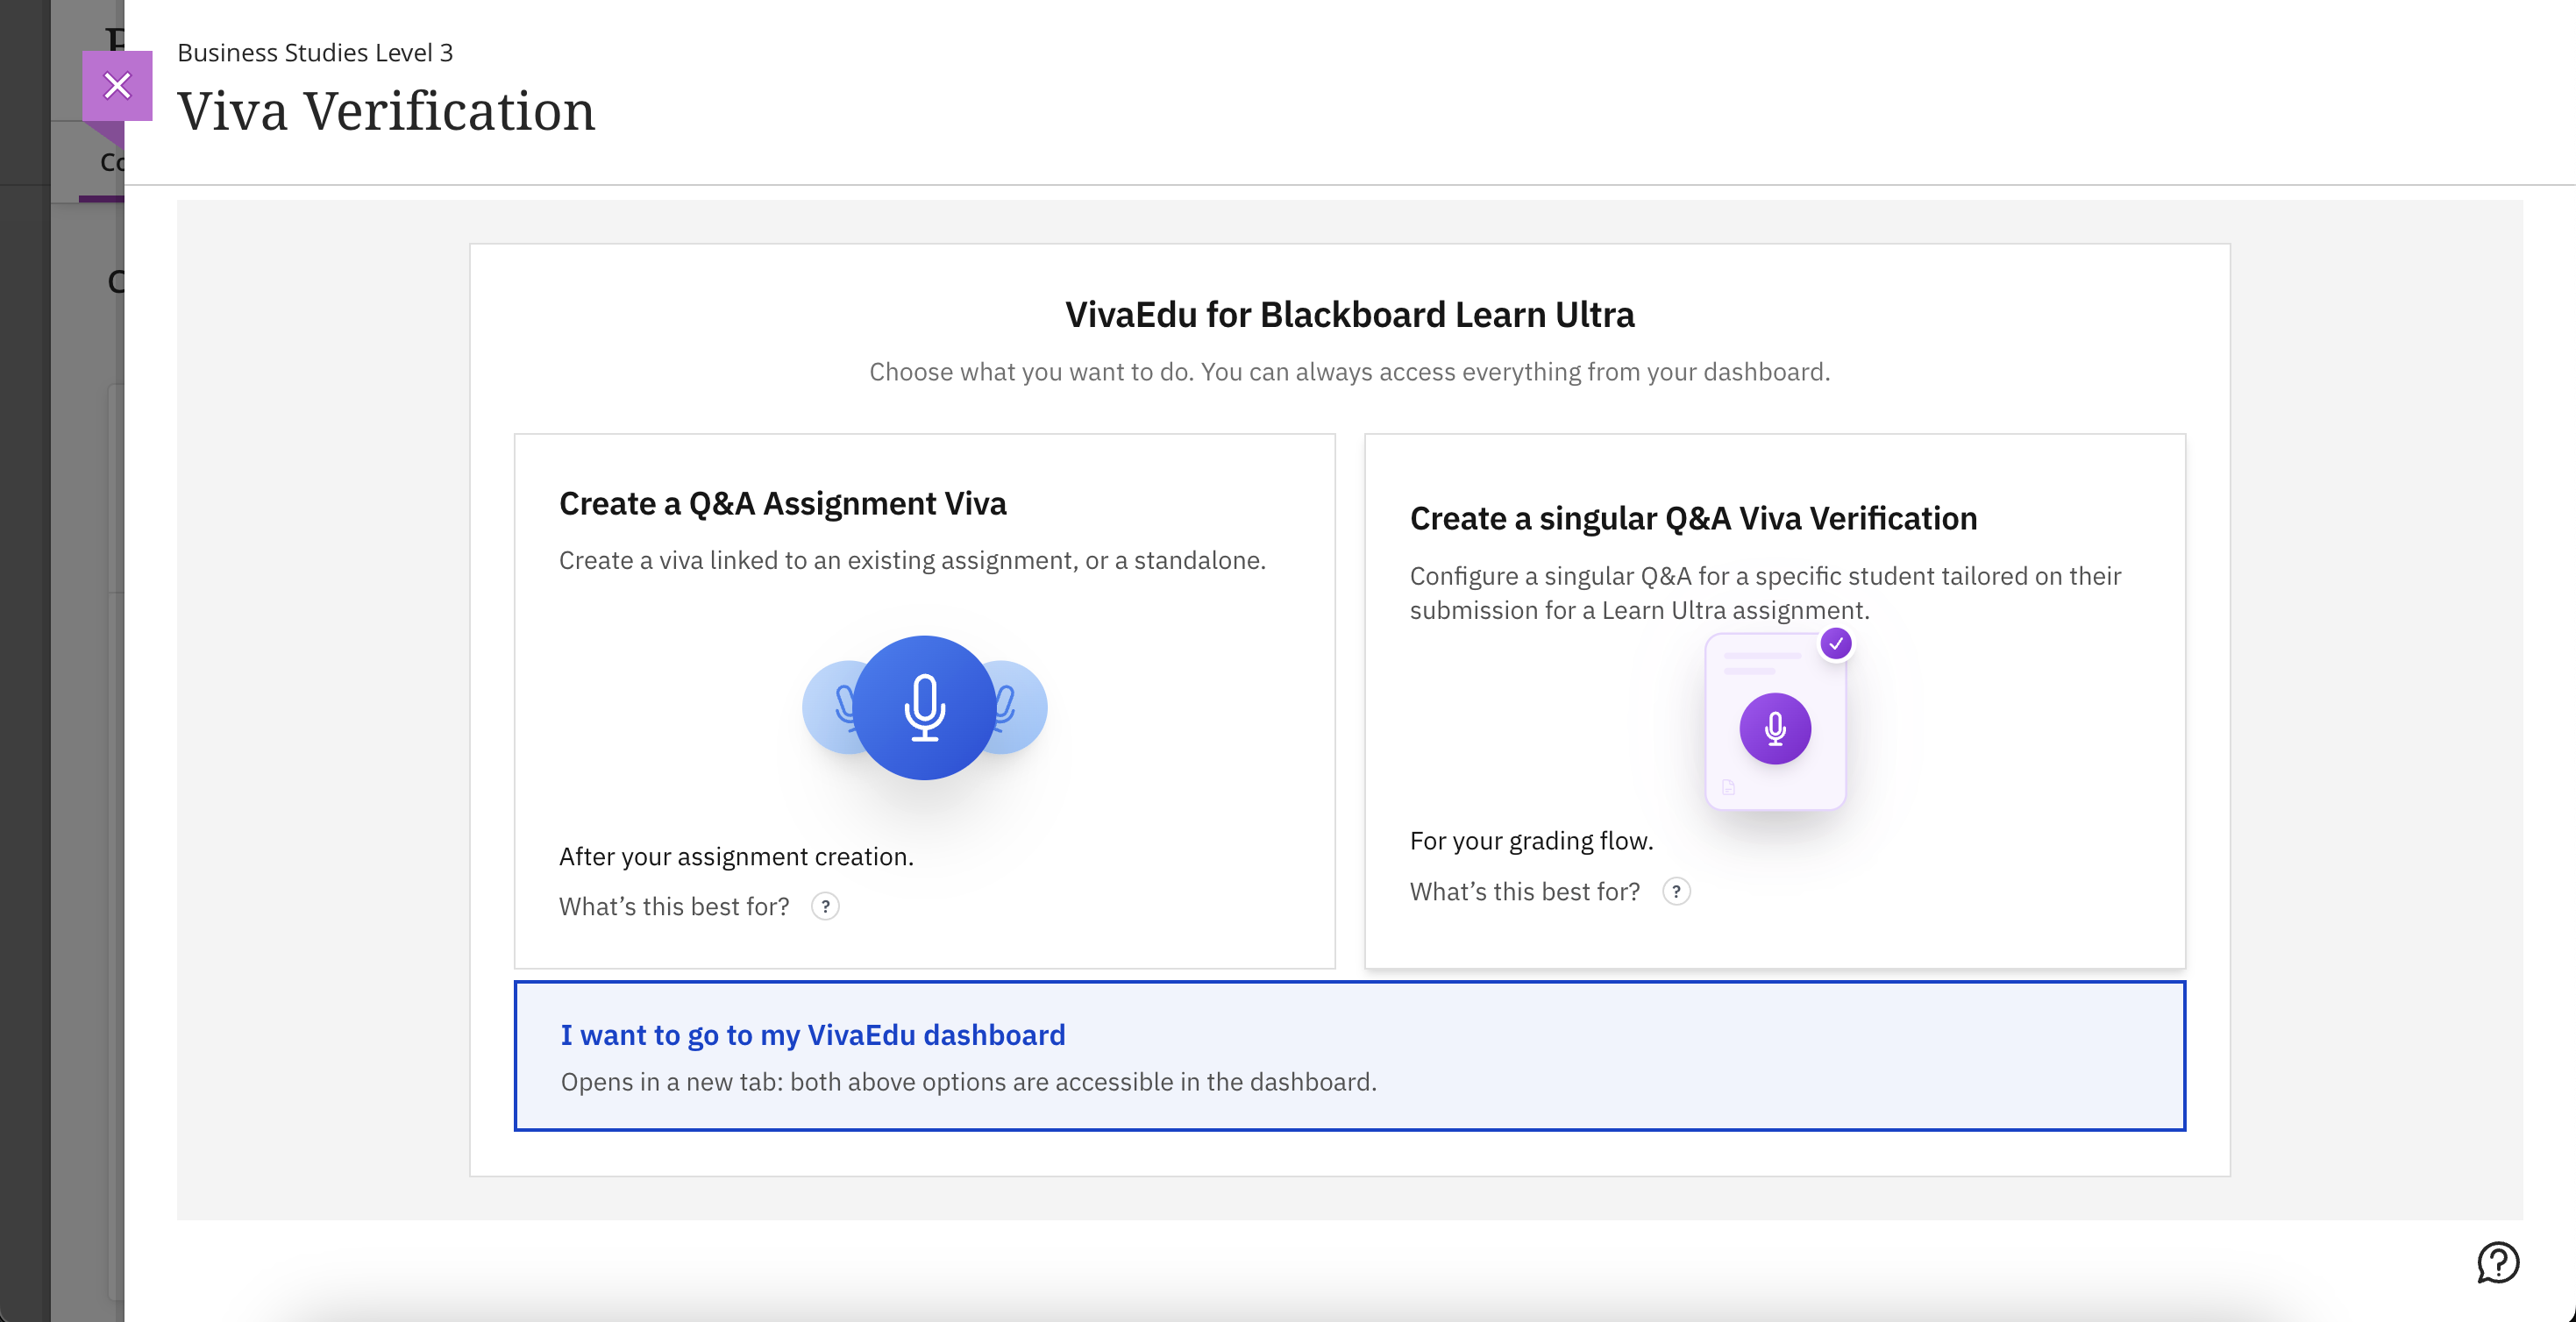
Step 2: Decide which Viva type you want to create
VivaEdu is an asynchronous Q&A tool. It supports an incredible range of use cases. Want every student to do a viva on their most recent LMS submission? Yep. Want a targeted viva verification for academic misconduct? Yep. Want to run it as a summative closed book exam? Yep.
The point is that this is not a tool for one single workflow. It is up to you how you adapt it to your curriculum in the age of AI. If you want the viva to unlock only after the LMS submission is made, and also let students view that submission during the viva, you can do that too.


Step 3: Explore the Software
Step 4: Create Your First Viva
The interface changes slightly depending on which viva mode you pick, but the overall flow stays the same.
VivaEdu will sync your real LMS assignments into your class. Most instructors simply pick an existing LMS assignment, attach a VivaEdu viva to it, and publish.
Viva Configuration (Step 3 of 7)
Select template or customize
3 questions • 90s prep
Step 5: Publish, Wait, and then Review Student Submissions
Once you publish, students complete the viva on their own schedule. When submissions come in, you can review quickly using video or transcript.
The framework on page 4 mentions the 'scandal of grace', talk me through how your essay handled the ethnic and religious dynamics between Jews and Samaritans.
PendingOnce students complete their vivas, you can review them using two methods:
Individual Review
- Navigate to the assignment in your class
- Click on a student's submission
- Play the video recording with synchronized transcript highlighting
- View terminology keywords highlighted in green
- Fill in the rubric for each question
- Add text or video feedback
- See clarifying comments the student wrote
- Submit review
Batch Review Queue
For faster grading across multiple assignments:
- Access the Review Queue from your dashboard
- Assignments are sorted by priority (overdue, high submission rates)
- Click "Begin / Continue Review Queue" on any assignment
- Review sessions one after another without returning to the assignment page
- Export results or push grades in bulk when done
Additional Features
Test Student View
Before publishing, preview the viva from the student's perspective to ensure everything appears correctly. You can also do this after publishing as well.
Edit Your Viva and Grant Re-do Options
You can edit every feature in published vivas, which are applied immediately to all future student submissions. Changes are not applied to students who are already halfway through a viva. If a student experiences technical issues or you want to allow them to retake the viva, you can grant them a fresh attempt.
Manage Student Accommodations
View student profiles to add permanent accommodations that persist across all future vivas in your classes.
Comments
Leave a comment, question, or feedback. Comments are public — please don’t include personal data.